Free Shipping Over $100 · Satisfaction Guarantee · Handcrafted by Artisans


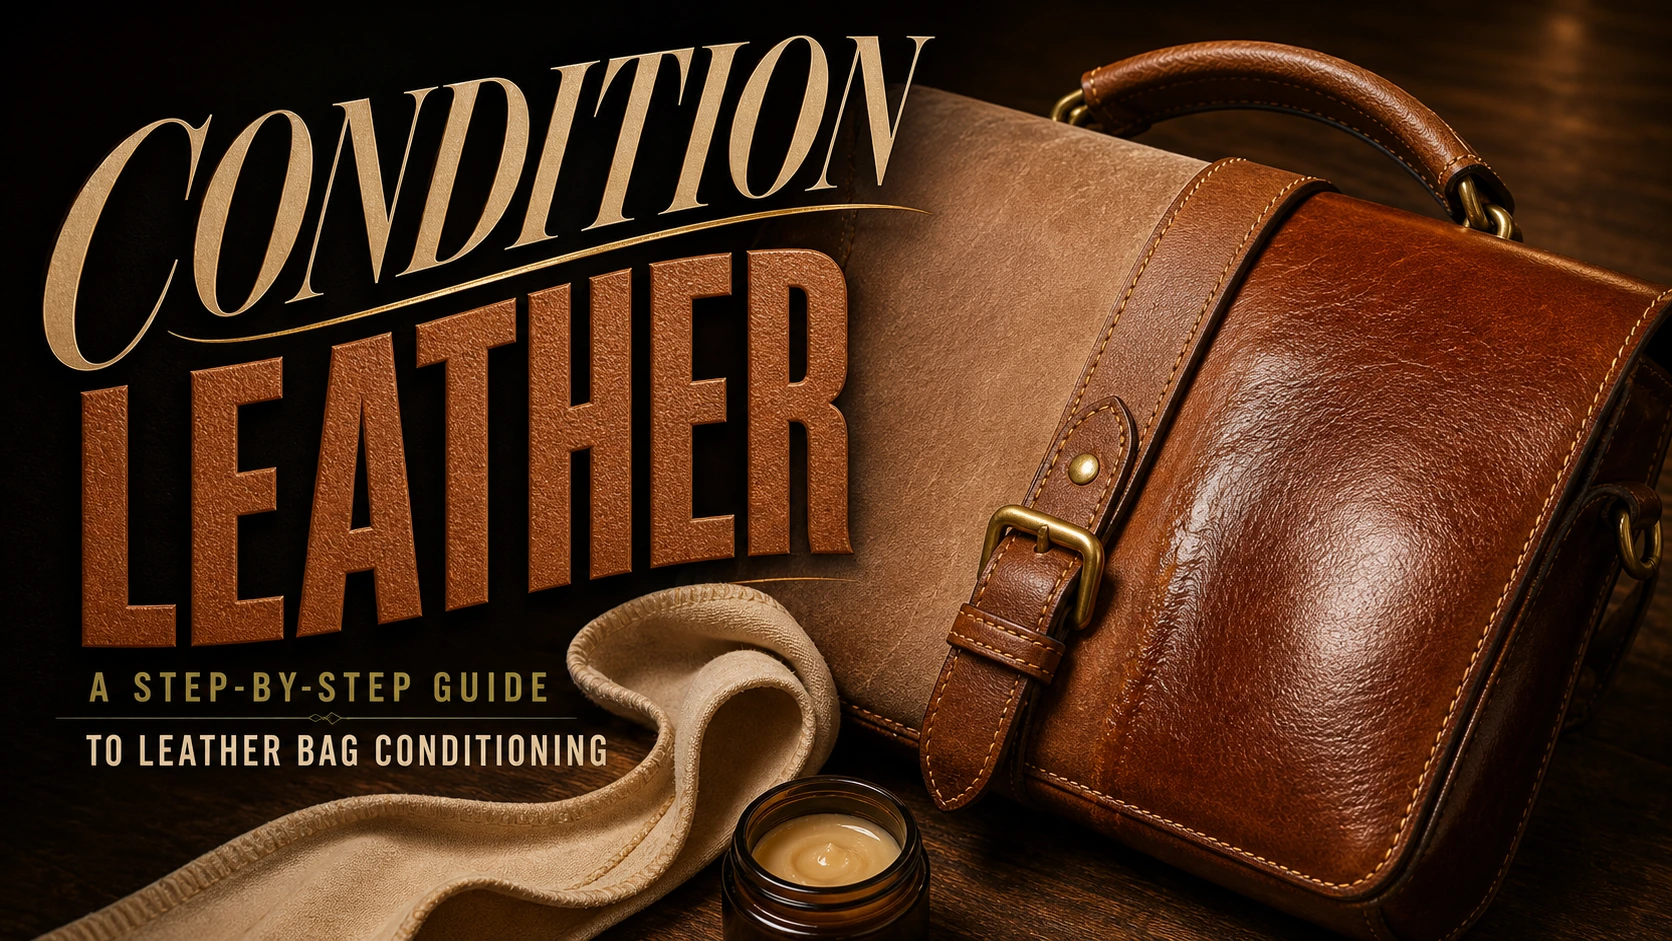
Learning how to condition leather properly is the single most important maintenance skill any leather owner can develop. Regular conditioning keeps the fibres supple, prevents cracking, enhances the natural patina, and extends the lifespan of your leather bag by years — sometimes decades.
Yet most people either skip conditioning entirely, use the wrong product, or apply it incorrectly. Each of these mistakes leads to leather that dries out, stiffens, or develops an uneven finish.
This step-by-step guide shows you exactly how to condition leather bags — what to use, how to apply it, how often, and what to avoid.
Why Leather Needs Conditioning
Leather is animal skin. Like human skin, it contains natural oils that keep it flexible, soft, and resilient. Over time — through exposure to air, sunlight, heat, and daily handling — those oils gradually evaporate. Without replenishment, the leather fibres dry out, become rigid, and eventually crack.
Conditioning replaces those lost oils. A quality leather conditioner penetrates the fibre structure, restoring moisture from within and creating a protective surface layer that slows future oil loss.
Regular conditioning also:
- Deepens the patina on full grain leather, enriching the colour and warmth
- Prevents water damage by filling microscopic gaps between fibres that water would otherwise penetrate — see our waterproofing guide
- Maintains flexibility so the leather moves without cracking at stress points
- Restores leather after cleaning — every cleaning session strips some natural oils that conditioning replaces. See our cleaning guide for the full process
Choosing the Right Leather Conditioner
Not all conditioners are equal. The wrong product can clog pores, darken leather excessively, or leave a sticky residue.
What to Use
Beeswax-based conditioners are the gold standard for leather bags. Beeswax moisturises without over-softening, creates a natural protective barrier, and does not alter the leather’s breathability. It works beautifully with vegetable tanned and full grain leather.
Lanolin-based conditioners are excellent for very dry or neglected leather. Lanolin penetrates deeply and provides intense moisturisation. Use sparingly — it can darken lighter leather if over-applied.
Natural oil blends — neatsfoot oil, coconut oil, or jojoba oil — work well in small amounts. These are best as occasional deep treatments rather than regular conditioners.
What to Avoid
- Silicone-based products — seal the surface, prevent breathing, block patina development
- Petroleum-based products (like Vaseline) — clog pores, attract dust, deteriorate stitching
- Olive oil or vegetable cooking oils — go rancid, attract bacteria, leave sticky residue
- Mink oil — excellent for boots but too heavy for bags. Over-softens structured leather and can cause sagging
How to Condition Leather: Step by Step
Step 1: Clean First
Never condition dirty leather. Dirt particles trapped under conditioner become abrasive and damage the fibres from within.
Wipe the entire bag with a soft, dry cloth to remove surface dust. For bags that need deeper cleaning, follow the cleaning process first and let the leather dry completely before conditioning.
Step 2: Test the Conditioner
Apply a small amount to a hidden area — inside a flap, under the base, or on an interior strap. Wait ten minutes and check for unwanted darkening or discolouration. Most conditioners slightly deepen the colour temporarily — this is normal and fades as the product absorbs. But excessive darkening indicates the product is too heavy for your leather.
Step 3: Apply in Thin Layers
Scoop a small amount of conditioner onto a soft, lint-free cotton cloth — roughly a fingertip-sized amount to start. You can always add more, but over-application is the most common conditioning mistake.
Step 4: Work in Circular Motions
Rub the conditioner into the leather in small, gentle circular motions. Work section by section — start with one panel, finish it, then move to the next. Ensure even coverage across the entire surface.
Pay extra attention to:
- Folds and creases — these areas flex most and dry out fastest
- Handle grips and strap contact points — high-friction zones that lose oil quickly
- Edges and corners — often missed but equally vulnerable to drying
Step 5: Let It Absorb
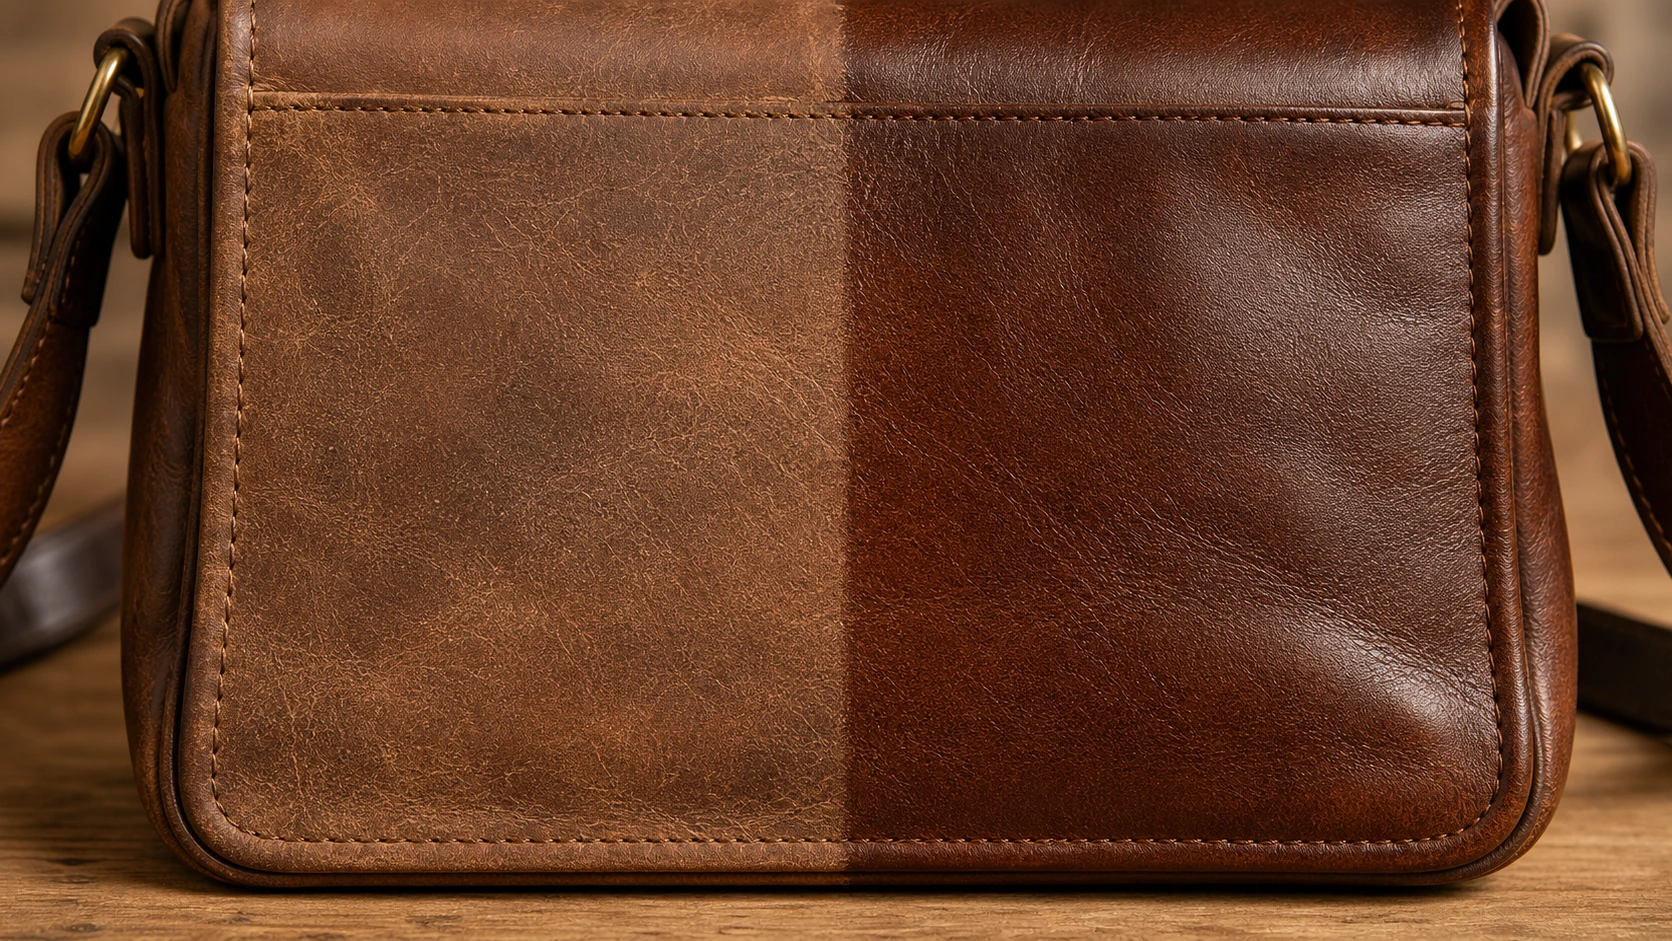
Once the entire bag is coated, set it aside for 10 to 20 minutes. The leather will absorb the conditioner — you will see the initial sheen fade as the oils penetrate into the fibre structure.
Step 6: Buff the Excess
After absorption, take a fresh, clean, dry cloth and buff the entire surface in gentle strokes. This removes any excess conditioner that did not absorb, prevents sticky spots, and brings out a subtle, natural sheen.
The leather should feel smooth, supple, and lightly nourished — not greasy or wet. If it feels oily, buff more aggressively or let it absorb for another 10 minutes.
How Often Should You Condition Leather?
The right frequency depends on usage and environment:
| Usage | Climate | Conditioning Frequency |
|---|---|---|
| Daily use | Hot or dry | Every 2–3 months |
| Daily use | Moderate | Every 3–4 months |
| Regular use | Any climate | Every 4–6 months |
| Occasional use | Any climate | Every 6–12 months |
| After cleaning | Any | Always condition after any cleaning session |
| After water exposure | Any | Always condition once fully dry |
The leather tells you when it needs conditioning. If the surface looks dull, feels dry or stiff, or shows fine surface cracks, it is overdue. Healthy, well-conditioned leather has a subtle warmth and flexibility that dry leather lacks.
Common Conditioning Mistakes
Over-conditioning. Too much conditioner saturates the leather, clogs pores, attracts dust, and can make the bag feel perpetually sticky or cause structured bags to lose their shape. Less is more — a thin, even layer is all you need.
Conditioning dirty leather. Locking dirt under conditioner accelerates fibre damage. Always clean first.
Using the wrong product. Cooking oils, heavy boot oils, and silicone sprays do not belong on leather bags. Stick to products formulated for leather goods.
Skipping stress points. Folds, creases, and handle grips dry out fastest but are often missed during conditioning. These areas need the most attention.
Conditioning in direct sunlight. Heat from sunlight causes the conditioner to absorb too fast and unevenly, creating blotchy results. Work in a cool, shaded area.
What Conditioned Leather Looks and Feels Like
After proper conditioning, the leather should exhibit:
- A subtle, natural sheen — not a glossy or wet look
- A warm, slightly deepened colour tone
- Smooth, supple flexibility when bent or folded
- No greasy or sticky residue on your fingertips
- A pleasant, natural leather scent (possibly with a slight beeswax or lanolin note)
If the leather still feels dry or looks dull after one conditioning session, it was significantly dehydrated. Apply a second thin layer, let it absorb, and buff again. Severely neglected leather may need two to three sessions spaced a few days apart to fully rehydrate.
Regular conditioning prevents this scenario entirely. A bag that is conditioned on schedule rarely needs more than a single, light application.
Frequently Asked Questions
What is the best way to condition leather bags?
Clean the bag first, apply a beeswax-based conditioner in thin layers using circular motions, let it absorb for 10–20 minutes, then buff with a clean cloth. Repeat every 3–6 months depending on usage.
Can you over-condition leather?
Yes. Too much conditioner saturates the fibres, clogs pores, and can cause structured bags to soften and lose shape. Apply thin layers and buff away excess. If the leather feels sticky after conditioning, you have used too much — buff more aggressively.
Does conditioning leather change its colour?
Conditioning typically deepens the colour slightly — this is normal and part of the natural patina process. The effect is temporary and settles as the conditioner absorbs. Test on a hidden area first if you are concerned about colour change on lighter leather.
How do you condition a new leather bag?
New full grain leather bags do not need immediate conditioning — they arrive with their natural oils intact. Wait two to four weeks of regular use before the first conditioning session. This allows the leather to begin its natural break-in process.
Can you use coconut oil on leather?
Coconut oil works as an occasional deep moisturiser but is not ideal for regular conditioning. It can darken leather, leave residue, and go rancid in warm conditions. A beeswax-based conditioner designed for leather is always the safer choice.
The Simplest Way to Make Leather Last
To condition leather regularly is to invest five minutes every few months in exchange for years of additional lifespan. It is the lowest-effort, highest-impact care routine any leather owner can adopt.
Well-conditioned leather looks richer, feels better, and lasts longer. It is that simple.
Related posts

Leather Messenger Bag for Women: The Complete Guide
A leather messenger bag for women is the rare bag that carries a laptop to a meeting, a notebook to a café, and your everyday essential...

How to Choose a Leather Laptop Bag: A Buyer’s Guide
Knowing how to choose a leather laptop bag comes down to five decisions: the right bag type, the right size, the right leather grade, r...

Leather Camera Bag: The Complete Buyer’s Guide
A leather camera bag is where photography gear meets everyday style — a way to protect your camera and lens without carrying something ...

Leather Saddle Bag: The Complete Guide
A leather saddle bag is the curved-flap crossbody handbag that has quietly become a modern classic — named for its horseback origins, b...

Leather Hobo Bag: The Complete Guide
A leather hobo bag is the soft, slouchy shoulder bag that never really goes away — the one that molds to your body, swallows your daily...

Oxblood Leather: What Color It Is and How to Style It
Oxblood leather is a deep, dark red leather with rich brown and subtle purple undertones — one of the most versatile and quietly luxuri...